印章在我们的日常办公中经常用到,而随着科技的发展,各类软件推出,也有很多单位和企业用上了电子文件的传送,这就一定得用上电子印章。今天小编就给大家分享一篇用photoshop制作的印章效果。先看一下效果:

效果图
ps制作印章的具体操作方法:
1、新建画布--用选区工具拉出方框--选择修改--平滑数值为50PX(数值根据自己情况定)--如下图
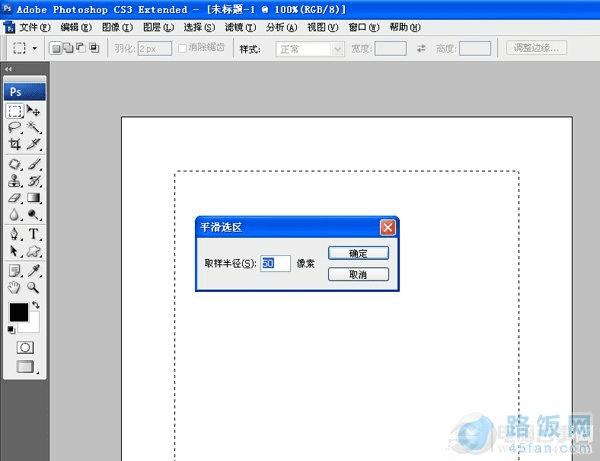
第一步
2、选择编辑--描边--数值为30PX(数值根据自己情况定)--效果如下图
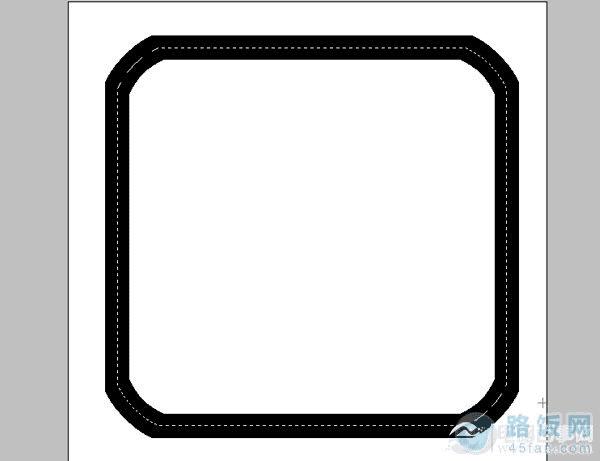
第二步
3、选用文字工具--输入印章的内容--如下效果图
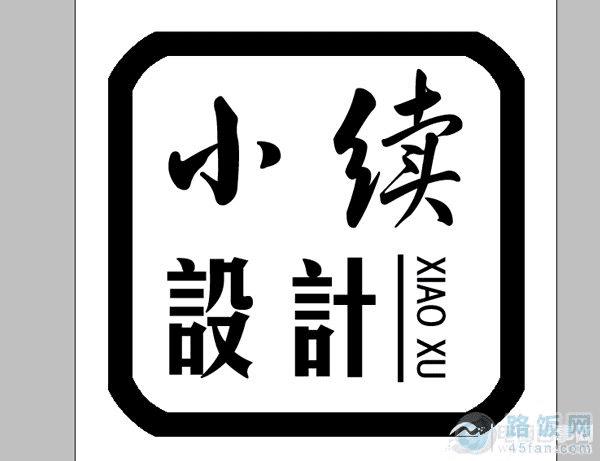
第三步
4、合并所有图层除了背景图层--执行滤镜--像素化——铜版雕刻--中长描边和粗网点--如下效果图
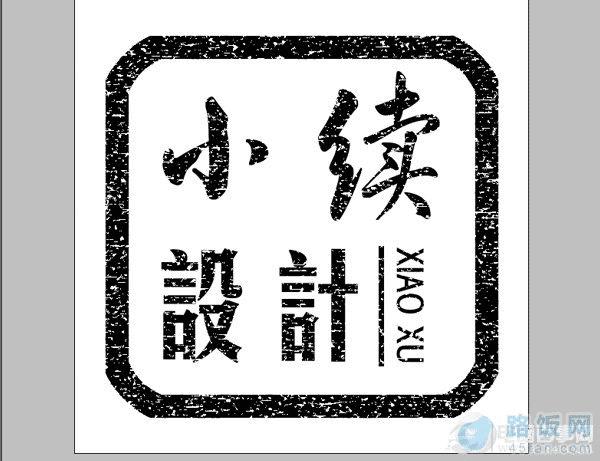
第四步
5、给背景添加渐变颜色--同时载入印章选区添加颜色--使印章效果更佳漂亮

第五步
本文地址:http://www.45fan.com/a/question/8164.html