如何利用ps打造唯美的照片
在使用之前先简单介绍一下曲线工具的原理。Photoshop把图像大致分为三个部分:暗调、中间调、高光
如同这幅图像
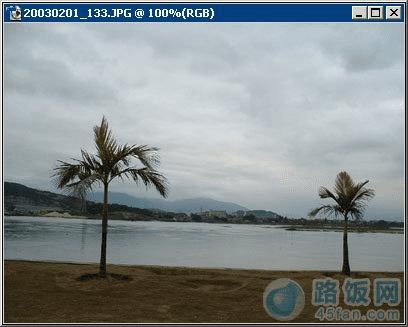
图:素材
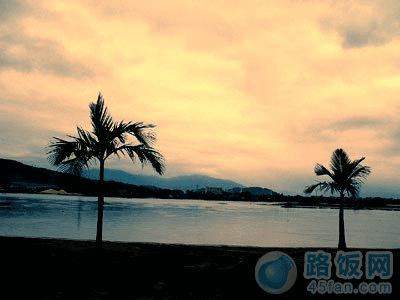
图:对比效果
可以使用“去色”命令将彩色图像转化为灰度图像即可看到明暗的分布,可以看到天空部分属于高光树木和草地属于暗调

图:去色
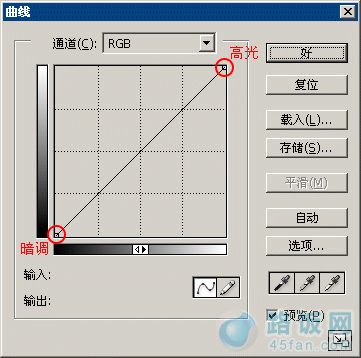
图:曲线调节
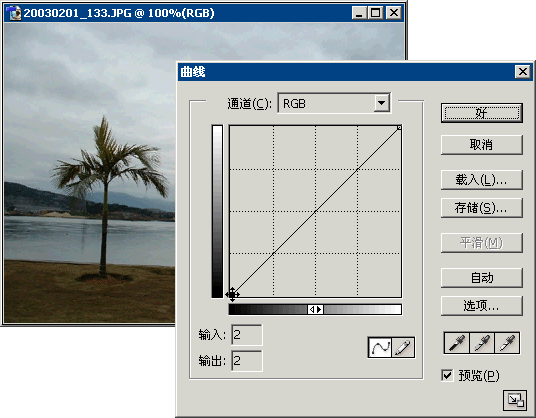
图:单独改变暗调点的效果
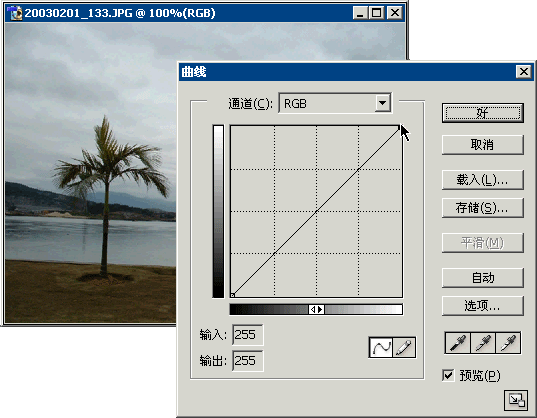
图:改变高光点的效果
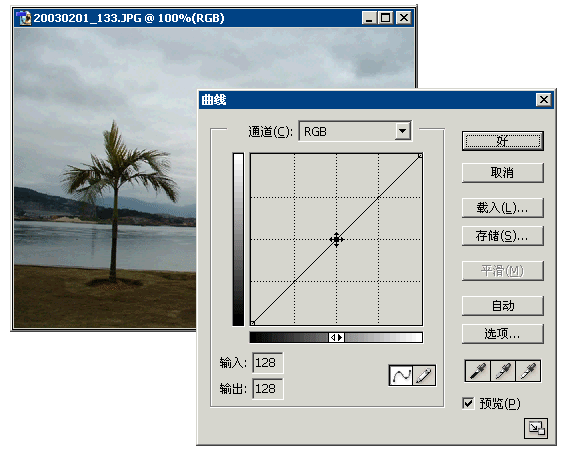
图:改变中间调的效果
如同这幅图像
图:素材
对比效果:
图:对比效果
图:去色
在曲线面板中那条直线的两个端点分别表示图像的高光区域和暗调区域。直线的其余部分统称为中间调
图:曲线调节
两个端点可以分别调整
下面两幅动画演示了单独改变暗调点和高光点的效果,其结果是暗调或高光部分加亮或减暗
图:单独改变暗调点的效果
接上~
图:改变高光点的效果
而改变中间调可以使图像整体加亮或减暗(在线条中单击即可产生拖动点)但是明暗对比没有改变(不同于电视机的亮度增加)。同时色彩的饱和度也增加可以用来模拟自然环境光强弱的效果
图:改变中间调的效果
本文地址:http://www.45fan.com/dnjc/12153.html