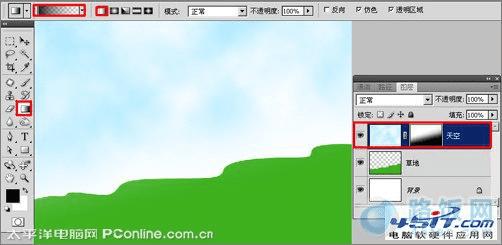
图5
5、执行菜单:“图层”/“新建”/“新建图层”(快捷键Ctrl+Shift+N),新建图层并命名为“小女孩”,按D键恢复默认颜色,使用画笔工具,在工具选项栏上设置画笔大小为:尖角5像素,描绘出小女孩,如图6所示;新建图层命名为“小男孩”,一样方法,描绘出小男孩,如图7所示。
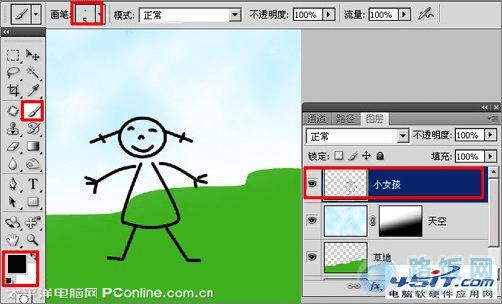
图6
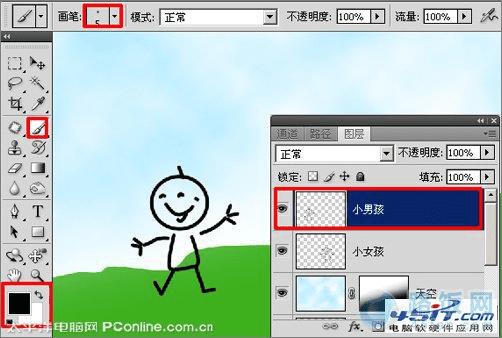
图7
6、执行菜单:“图层”/“新建”/“新建图层”(快捷键 Ctrl+Shift+N),新建图层并命名为“颜色”,前景色设置:#fa37cf,使用画笔工具,在工具选项上设置画笔大小为:柔角40像素,描绘出裙子的颜色,如图8所示;设置前景色为:#f8fa36,描绘出小男孩的衣服颜色,如图9所示。

图8
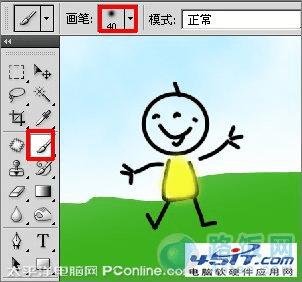
图9
7、设置前景色为:#ffe0aa,使用画笔工具,在工具选项栏设置画笔大小为:柔角27像素,描绘出脸晕颜色,如图10所示。
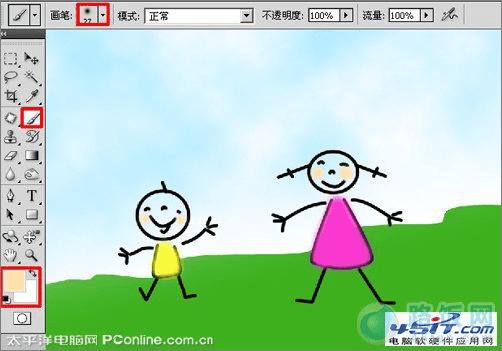
图10
本文地址:http://www.45fan.com/dnjc/12465.html