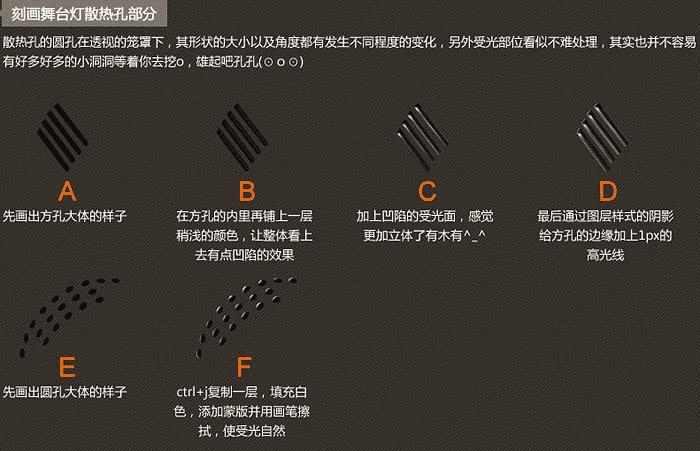
6、刻画散热孔部分。
散热孔的圆孔在透视的笼罩下,其形状的大小以及角度都有发生不同程度的变化,另外受光部分看似不难处理,其实也并不容易有好多好多的小孔要做。
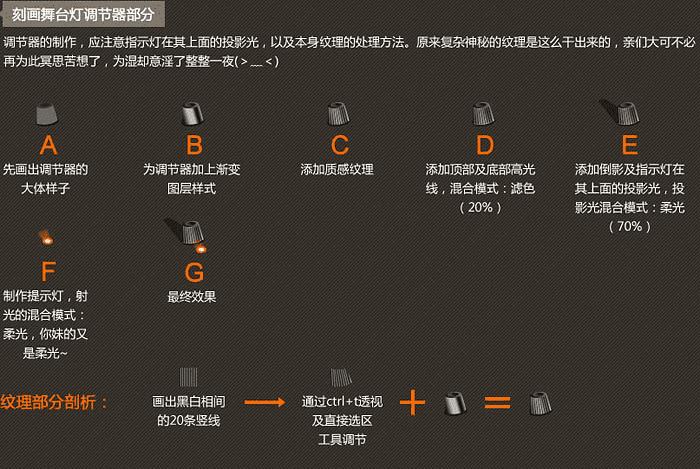
7、刻画调节器部分。
调节器的制作,应注意指示灯在其上面的投影光,以及本身纹理的处理方法,原来复杂神秘的纹理是这么做出来的。
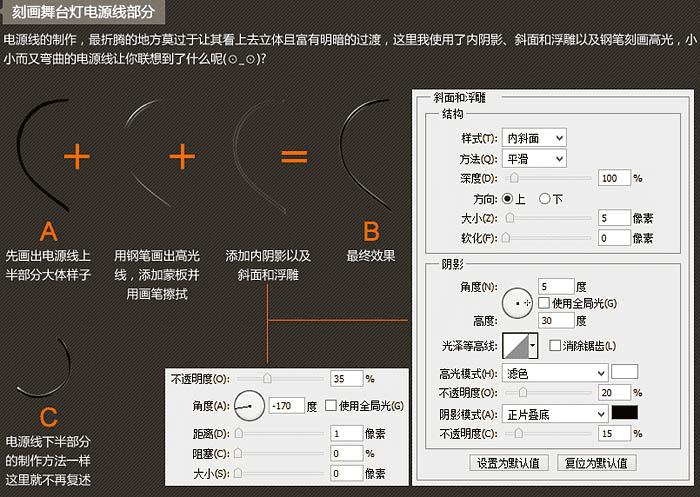
8、刻画电源线部分。
电源线的制作,最折腾的地方莫过于让其看上去立体且富有明暗的过渡,这里我使用了内阴影、斜面和浮雕以及钢笔刻画高光。
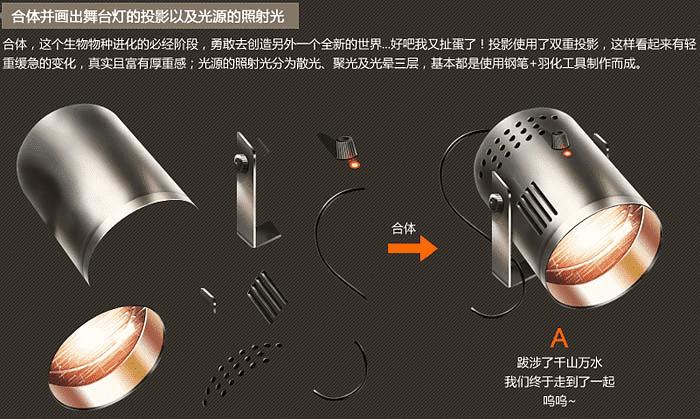
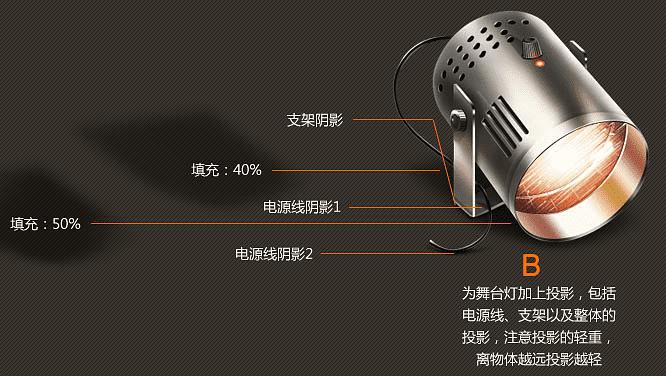
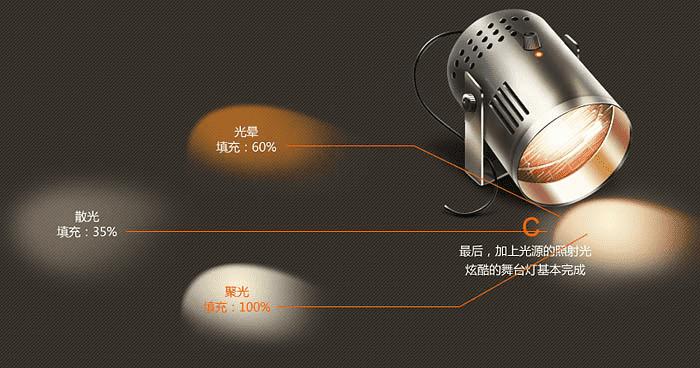
9、组合并画出投影以及光源的照射光。
组合,投影使用了双重投影,这样看起来有轻重缓急的变化,真实且富有厚重感;光源的照射灯分为散光、聚光及光晕三层,基本都是使用钢笔 + 羽化工具制作而成。
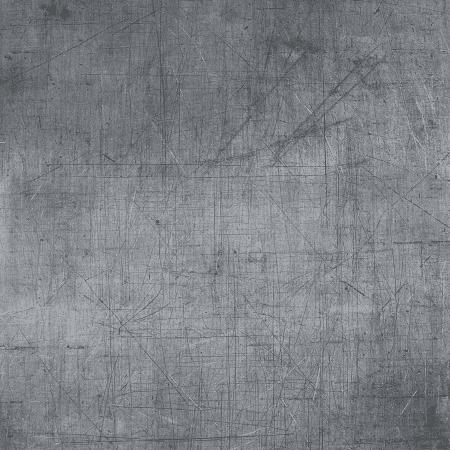
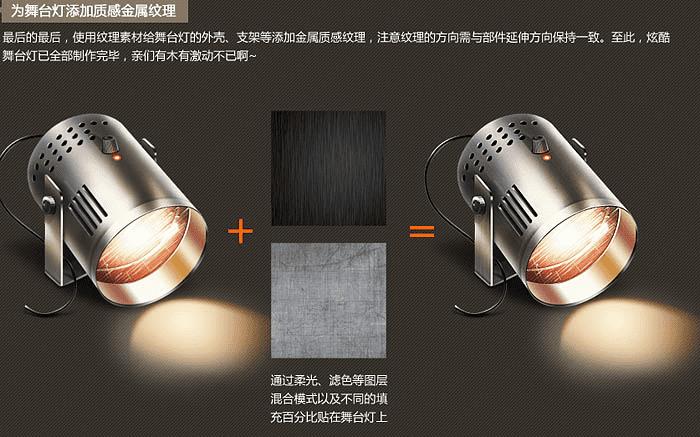
10、为灯添加质感金属纹理。
最后使用纹理素材给灯的外壳、支架等添加金属质感纹理,注意纹理的方向需要与部件延伸方向一致。
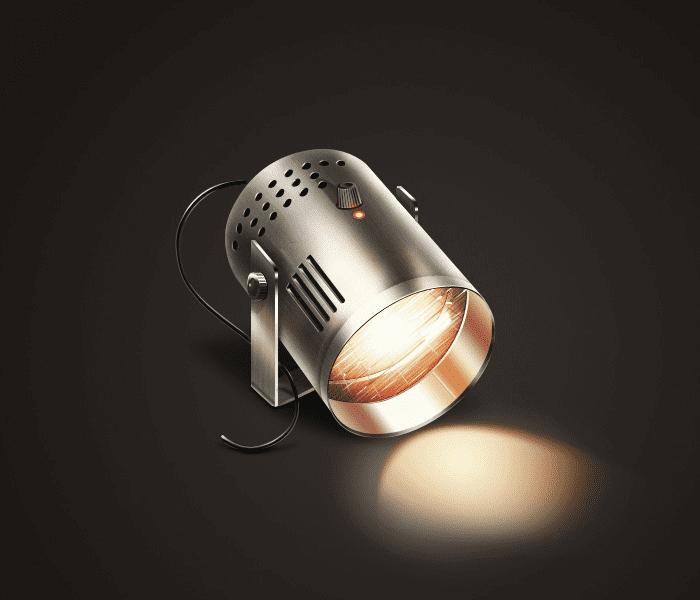
最终效果:
本文地址:http://www.45fan.com/dnjc/31772.html