在PowerPoint2003中插入图片的步骤
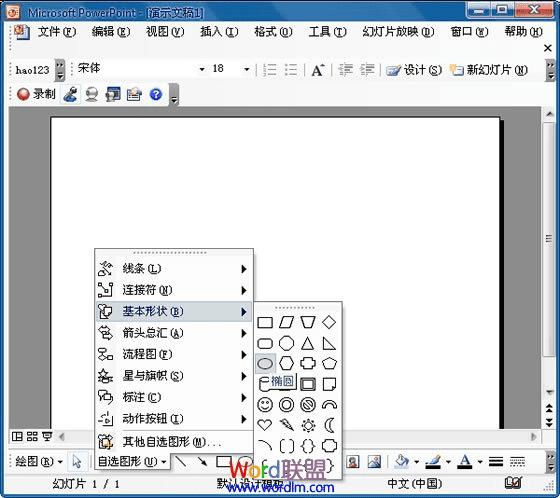
制作幻灯片的时候我们希望将一些照片或图片插入到各种圆形,方形或其他形状中,来达到自己想要的效果。那么这一步骤是怎样实现的呢?下面我们就一起来学习在各种形状中插入图片。①首先,在绘图工具的“自选图形”中选择一个自己喜欢的图形,然后PowerPoint中拉图形的效果;

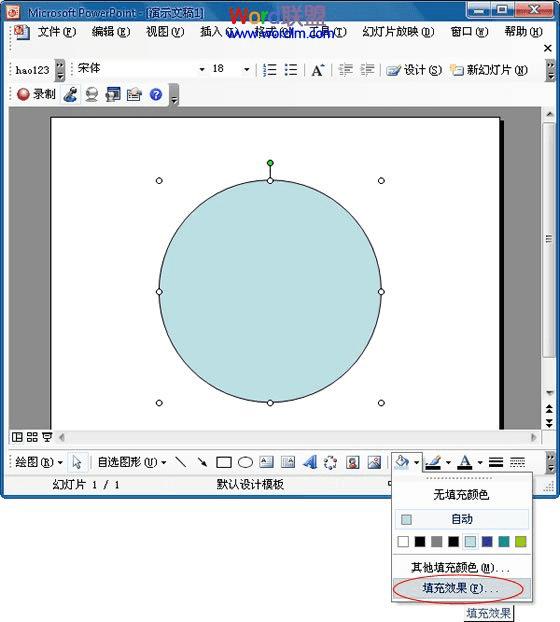
②在绘图工具中单击“填充颜色”旁边的下拉按钮,选择“填充效果”;
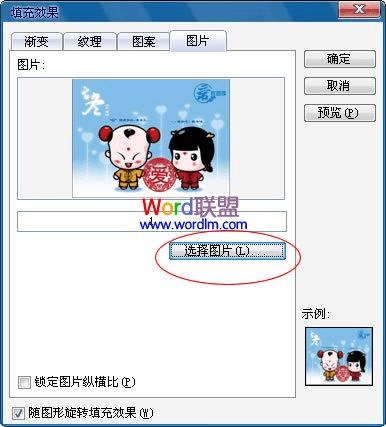
③在弹出的“填充效果”窗口中进入“图片”选项,然后单击下面的“选择图片”,插入自己想要的图片,选好后我们单击“确定”按钮;
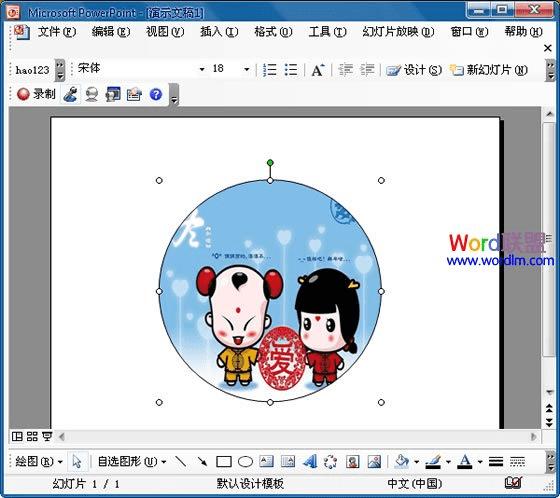
此时,我们的图片就插入到圆形中了。当然,我们可以用这种方法制作各种各样的效果出来。
本文地址:http://www.45fan.com/dnjc/54889.html