双重曝光指在同一张底片上进行多次曝光,现在的中高级自动相机都有多次曝光功能,利用功能设置就能设定多次曝光。
其实制作双重曝光的效果非常简单,不过细节上还是要花费一点心思的,图片要能完美的结合在一起,那就让我来一起看看吧!
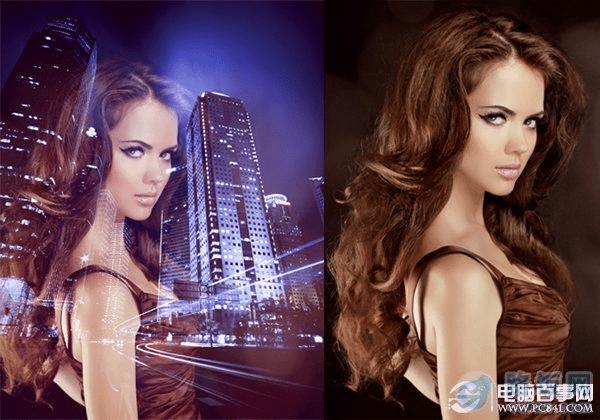
对比图

效果图

原图
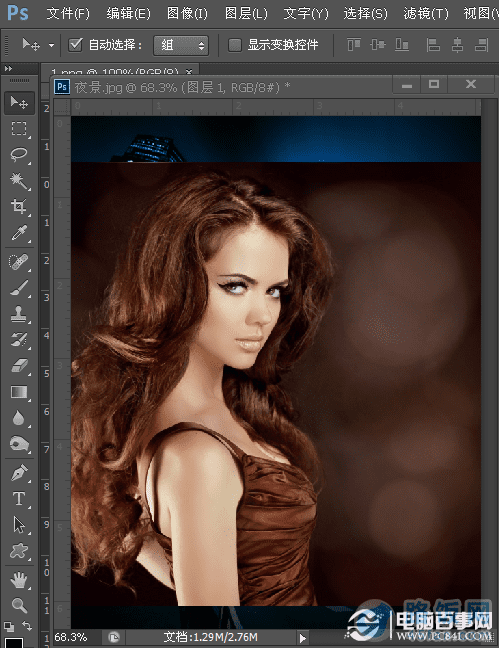
第一步:我们打开准备好的背景图片,在这里我是从网站上面下载的街景图片,如下图所示

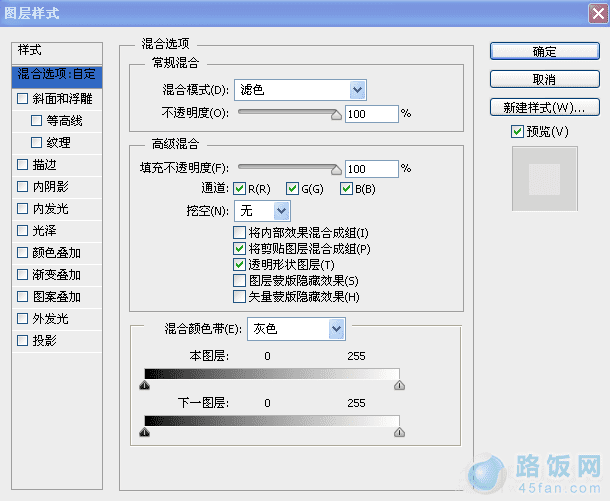
第二步:将准备好的人物照片拖拽到画布上去,然后将图层的模式改为滤色,如下图所示
第三步:现在双重曝光效果已经出来了,对背景执行色阶调整,如下图所示
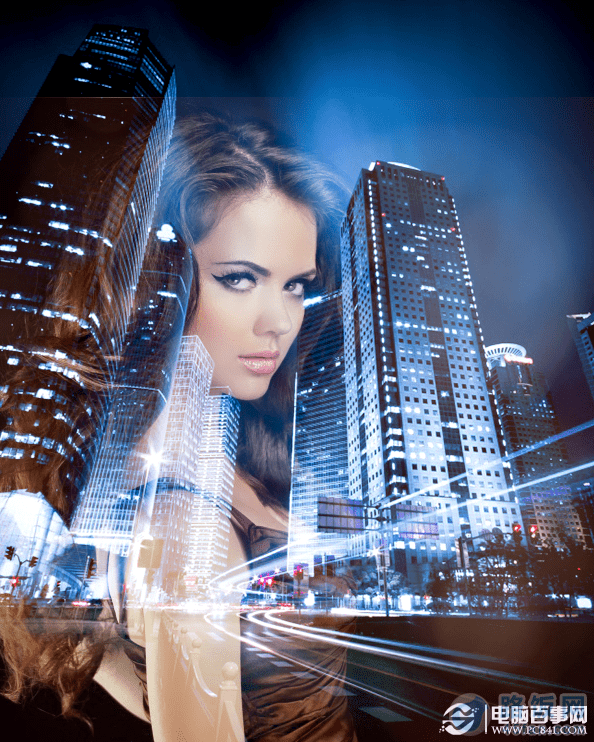
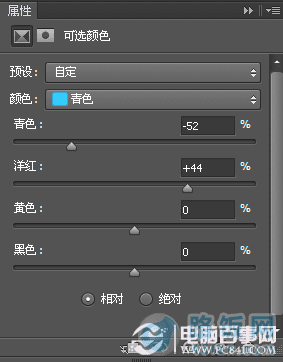
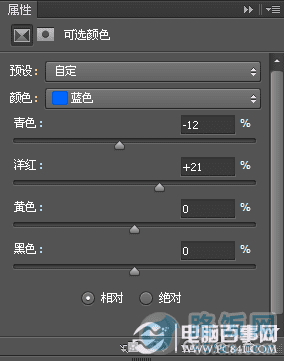
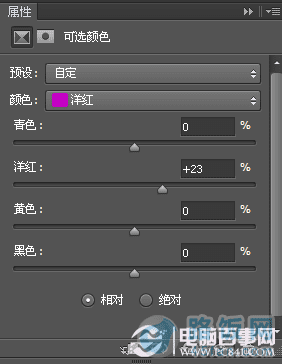
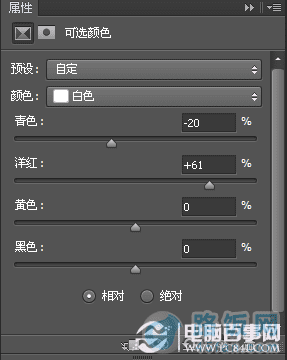
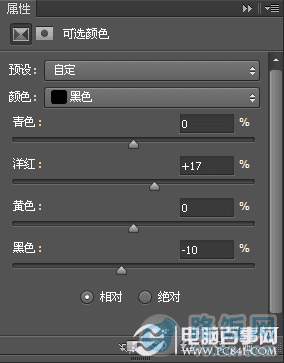
第四步:然后我们对背景执行可选颜色,对图片整体的色彩做调整,具体调整数值如图所示
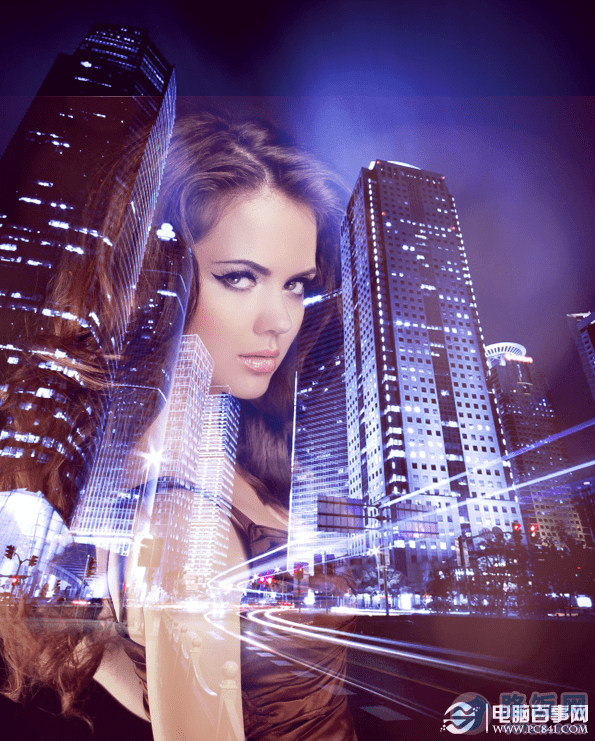
第五步:最后将人物上方不融合部分,添加上蒙版用画笔擦去,在做略微的调整最终效果图如下图所示

本文地址:http://www.45fan.com/dnjc/8782.html