如何在ps中将树林人物图片打造出唯美的中性冷色效果?
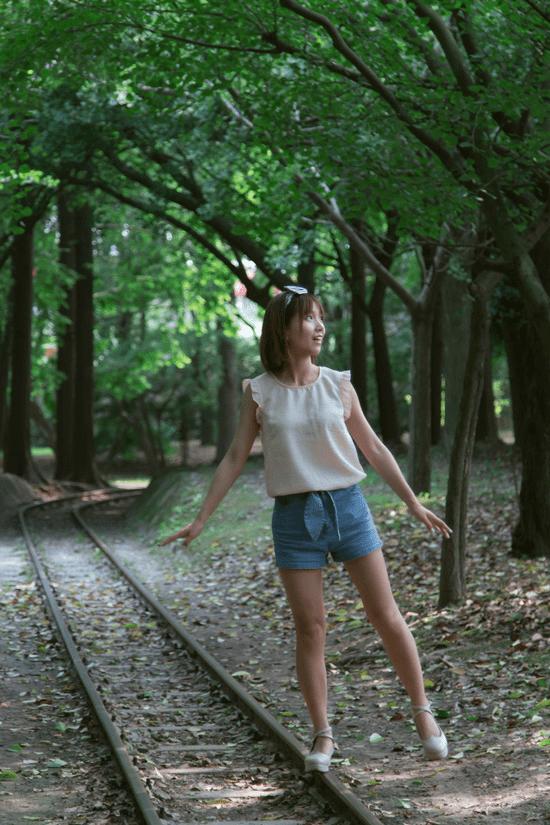
素材图片主色比较暗,调色的时候先把整体颜色稍微压暗;然后给图片高光区域增加淡蓝色;边角区域直接涂上暗蓝色;再给图片增加一些柔和的高光即可。原图
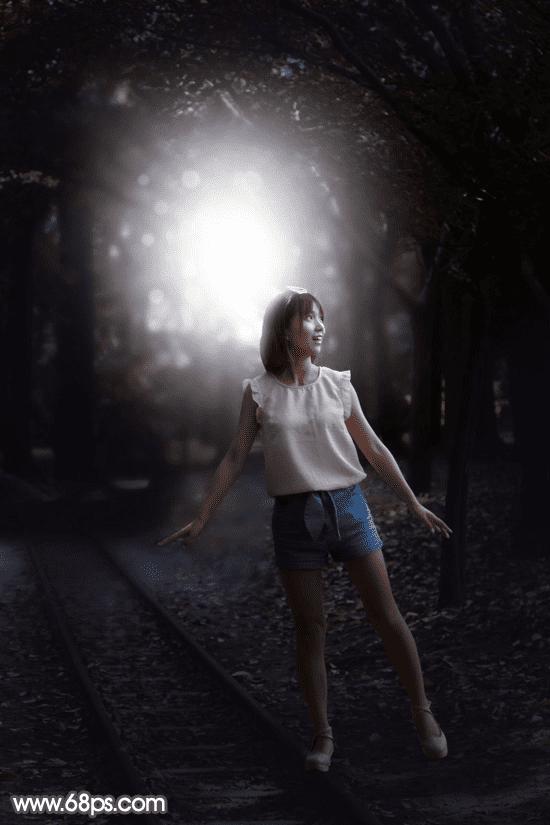
最终效果
1、打开原图素材大图,按Ctrl + J 把背景图层复制一层,用模糊工具把远处的背景模糊处理,如下图。
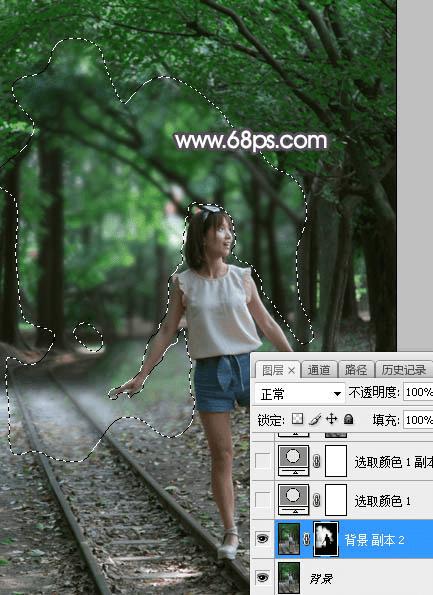
<图1>
2、创建可选颜色调整图层,对绿色进行调整,参数及效果如下图。这一步把图片中的绿色转为黄褐色。
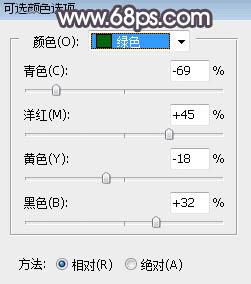
<图2>
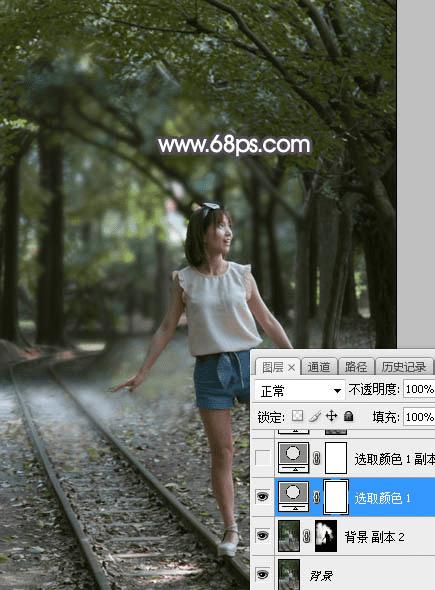
<图3>
3、按Ctrl + J 把当前可选颜色调整图层复制一层,不透明度改为:60%,效果如下图。
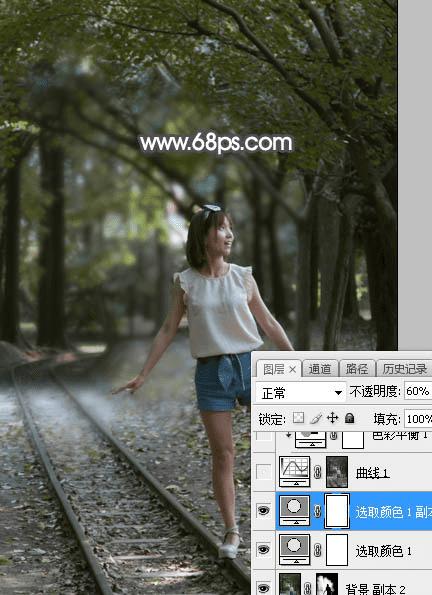
<图4>
4、按Ctrl + Alt + 2 调出高光选区,然后创建曲线调整图层,对绿色,蓝色通道进行调整,参数及效果如下图。这一步给图片高光区域增加淡蓝色。
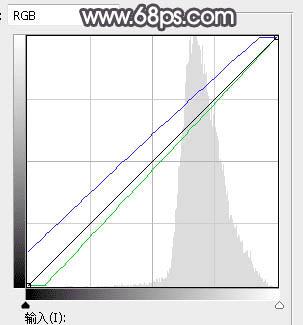
<图5>
本文地址:http://www.45fan.com/dnjc/88046.html