
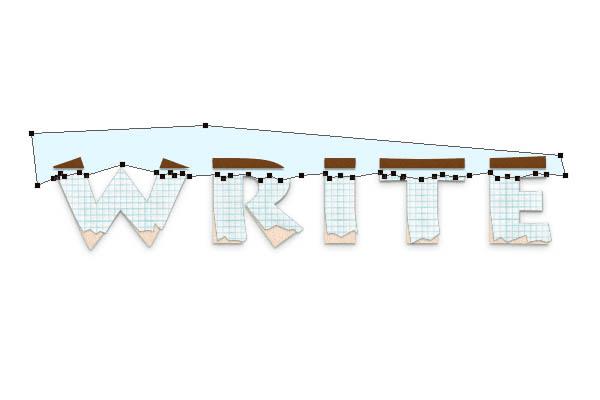
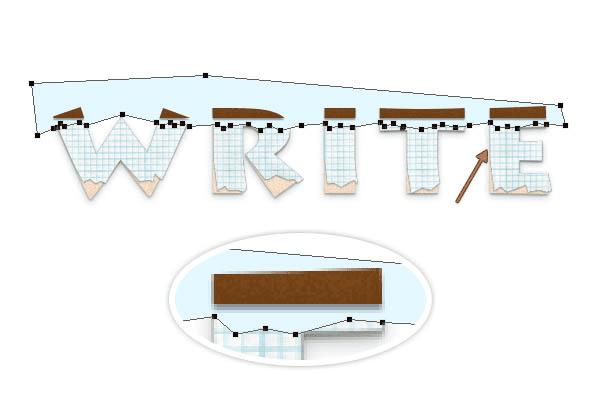
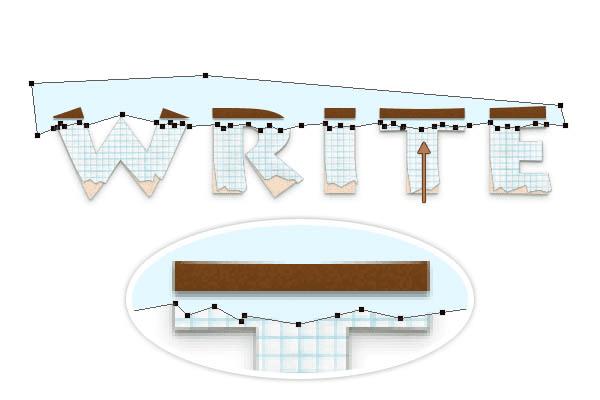
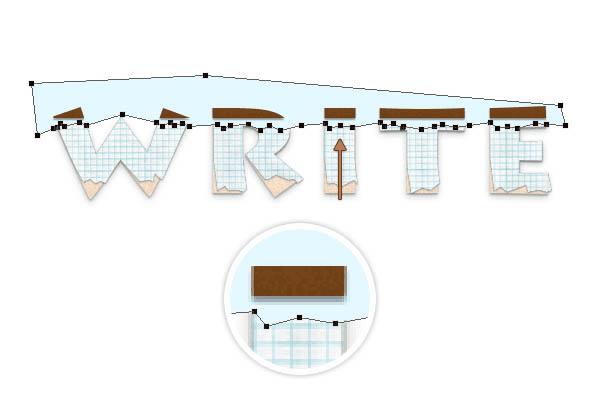
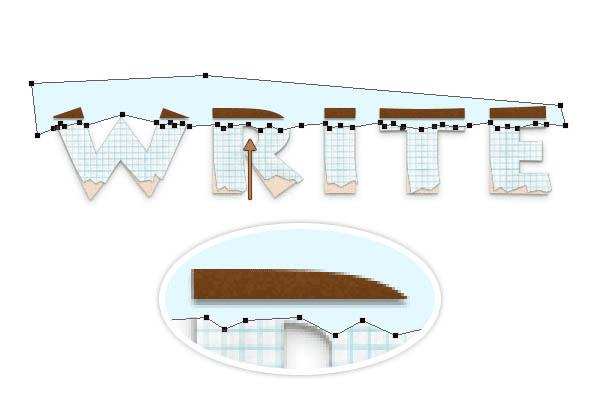
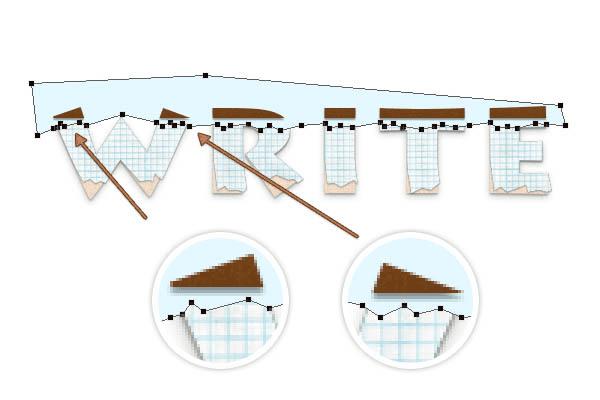
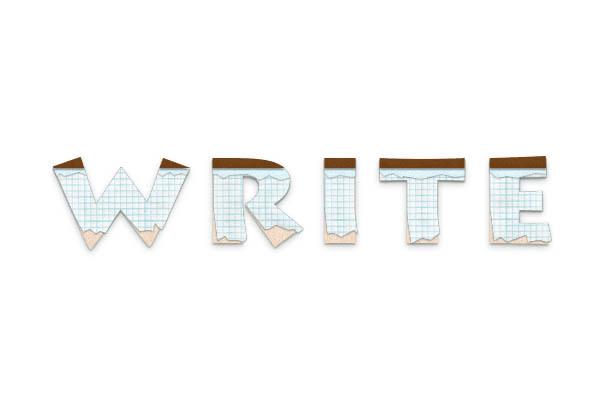
13、之后我们把前景色改变为#E4F8FF,使用钢笔工具画出如图所示的形状~该图层一定要在棕色形状之下哦。
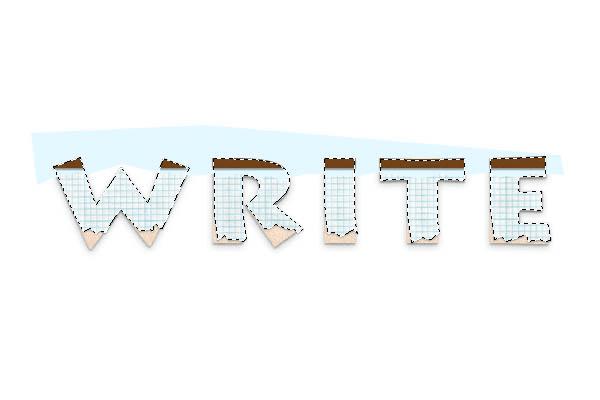
14、选出绿色字体的选区,然后添加蒙版。

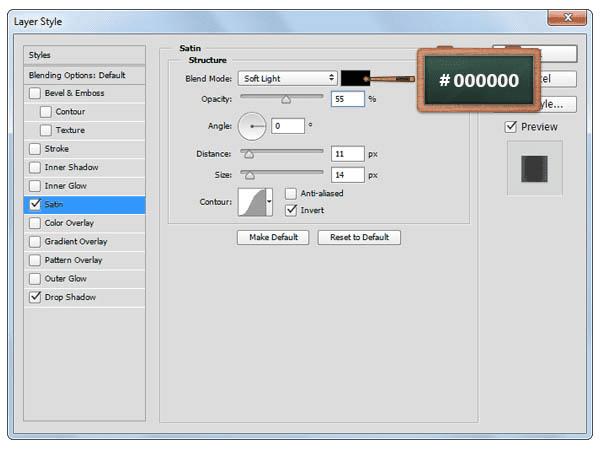
15、打开图层样式,参数设置如下。
投影,正常,透明度30%,角度90°,距离1px,大小1px。
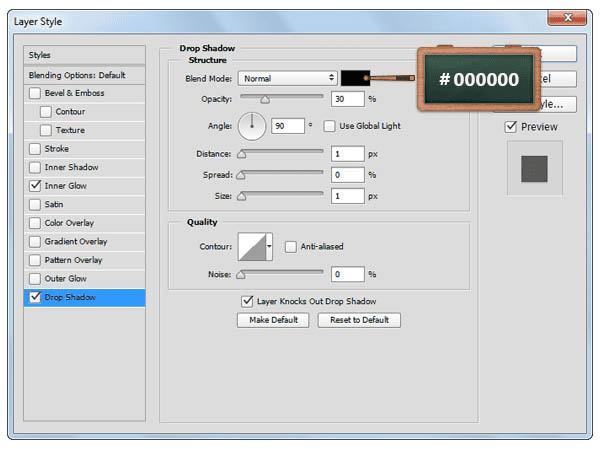
内发光,正常,透明度5%,颜色#000000,柔和,边缘,大小8px。

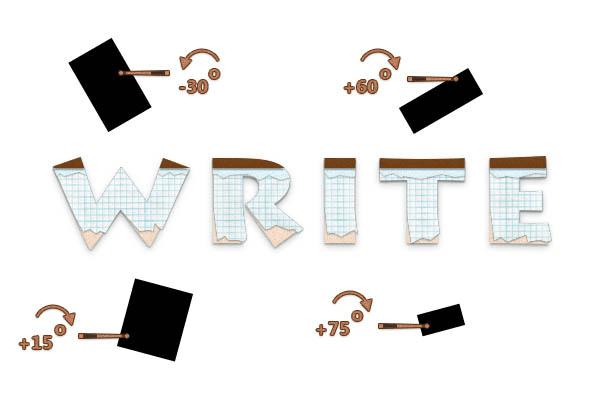
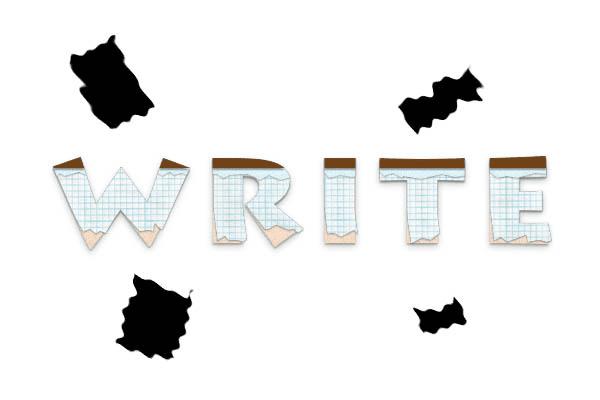
16、然后我们把前景色改变成黑色#000000,使用矩形工具新建50*80px、30*80px、60*70px和22*44px的矩形~ 然后改变角度,和如图2所示一样。

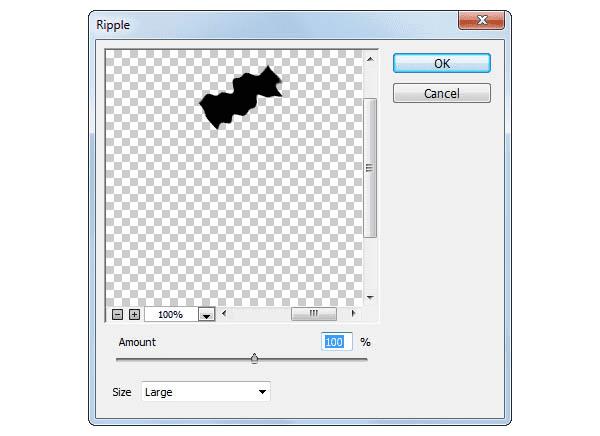
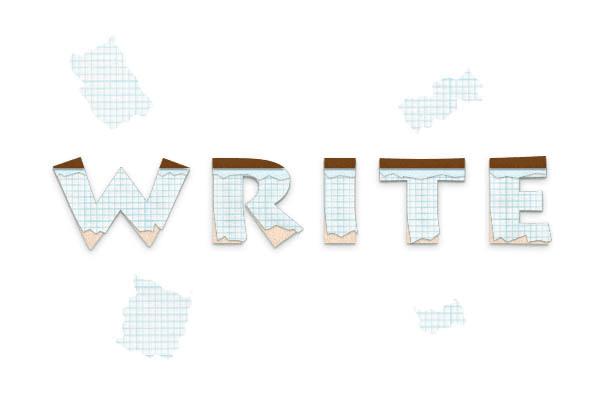
17、现在我们回到图层面板,将所有的黑色图形合并后再将其转化成智能对象,再去滤镜>扭曲>波纹,数量为100%,大小选择大,然后确定就可以了。
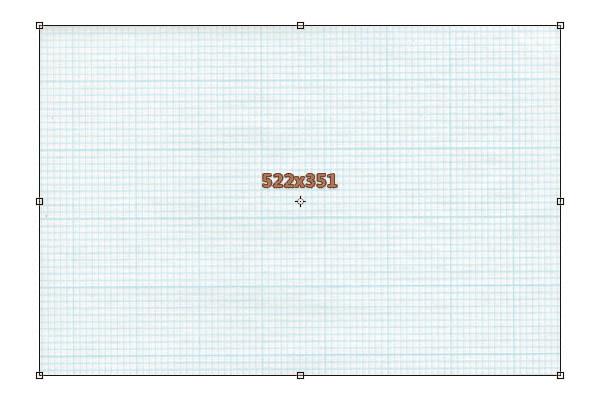
18、这里我们再来导入一次纸张素材,改变其大小为522*351px~ 选出黑色图形的选区,添加蒙版,再把黑色图形的填充改为0%。

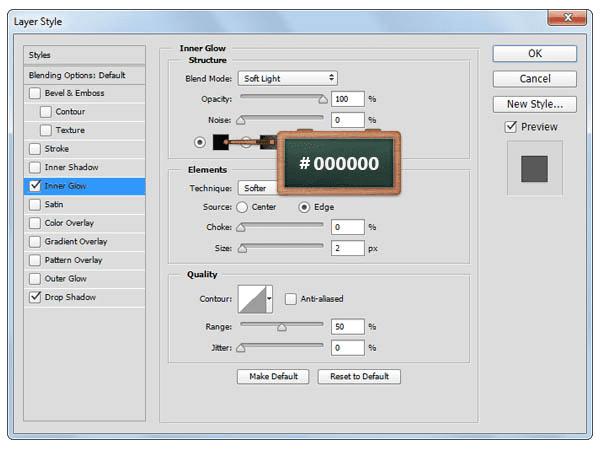
19、打开图层 样式,然后参数设置如下。
投影,正常,颜色#000000,角度90°,距离1px,大小2px。

内发光,柔光,透明度100%,颜色#000000,柔和,边缘,大小2px。
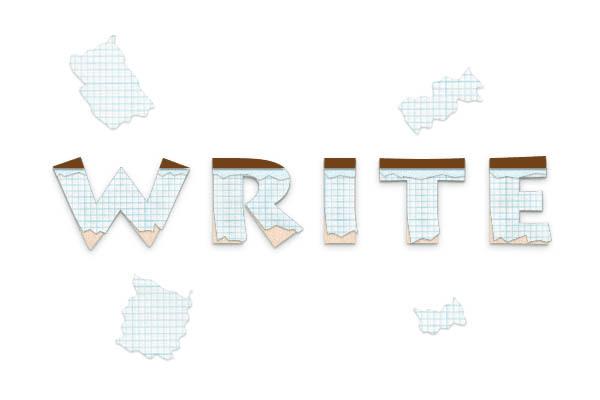
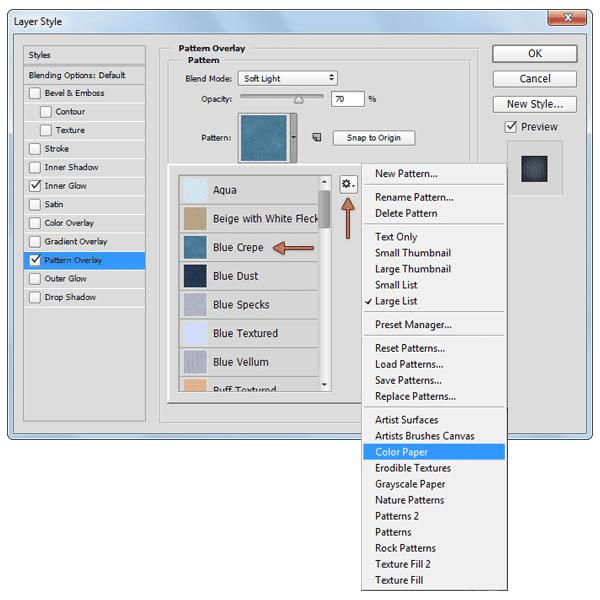
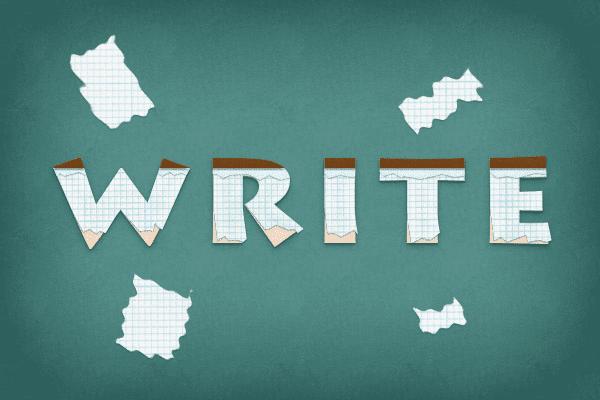
20、最后我们来添加背景色就完工啦!填充 #678F84,打开图层样式,参数设置如下。
图案叠加,纸张颜色,选择蓝色的图案。

内发光,柔光,透明度70%,颜色#000000,柔光,边缘,大小140px。

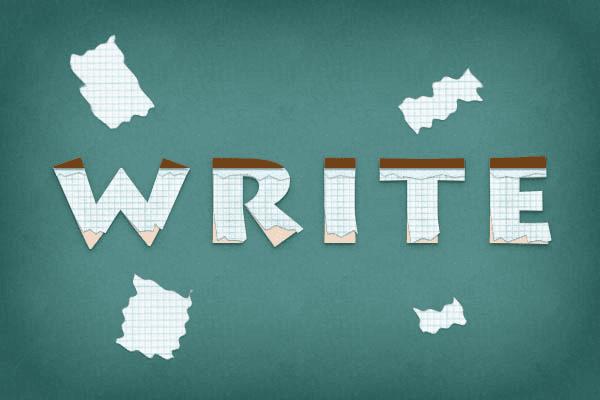
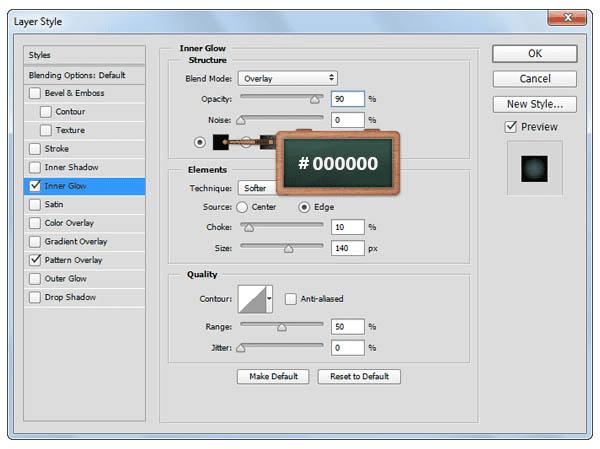
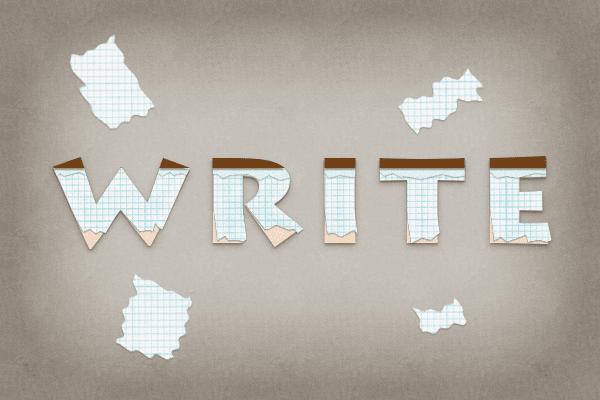
21、你可以设置不同背景图,可以设置成#D3C2B4,再改变图层样式就可以啦。


内发光,叠加,透明度90%,柔和,边缘,阻塞10%,大小140px。

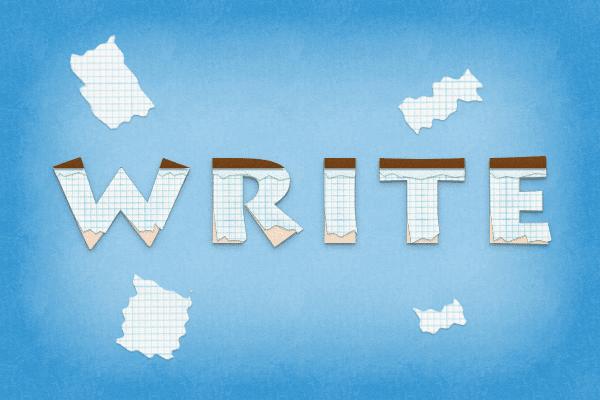
这个背景图层的颜色为#AECCE6,打开图层样式,参数设置改改。
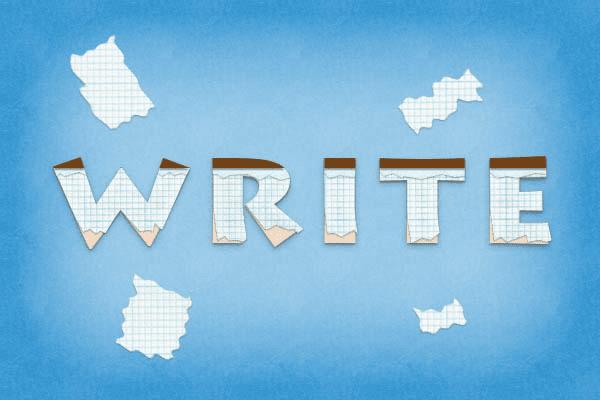
柔光,透明度70%。
最终效果:
本文地址:http://www.45fan.com/dnjc/42507.html