
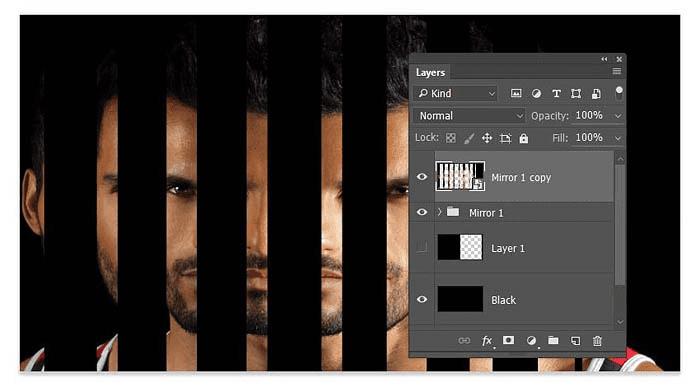
8、继续选上全部剪贴图层,选择“图层>图层编组”,将全部剪贴图层归入一个注重,命名为Mirror 1。

三、复制效果 到这一步已经有了基础效果,但只是基矗下面需要增加其他的镜面,然后添加一些视觉效果以便区别开来。
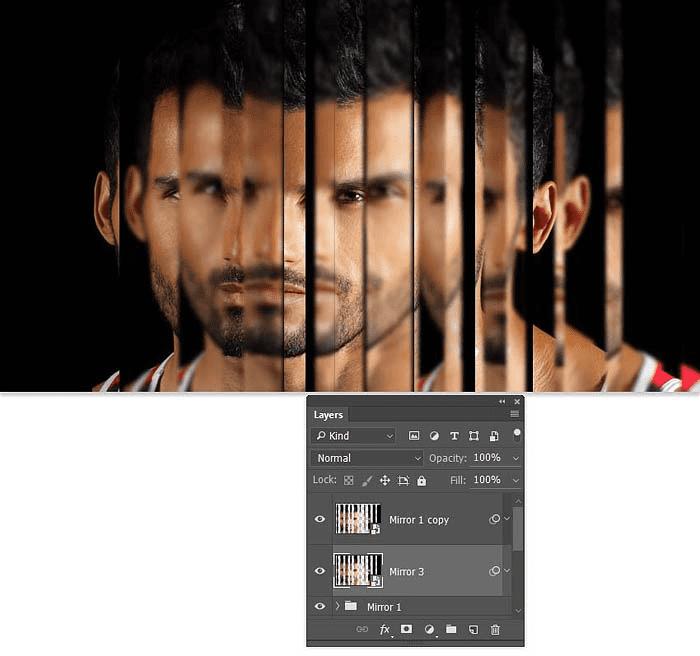
1、选择图层图Mirror 1,右击选择复制组,将整个图层组复制下来。对着图层图副本右击,选择转换为智能对象。
2、选择“滤镜>模糊>高斯模糊”,设置模糊半径为2.5像素。

3、选择移动工具,将模糊后的图层组由左向右,填补清晰的图层间隙,选择几个向上稍微移动一下。

4、复制智能对象图层组,命名为Mirror 3,然后在画布右侧填充空隙。
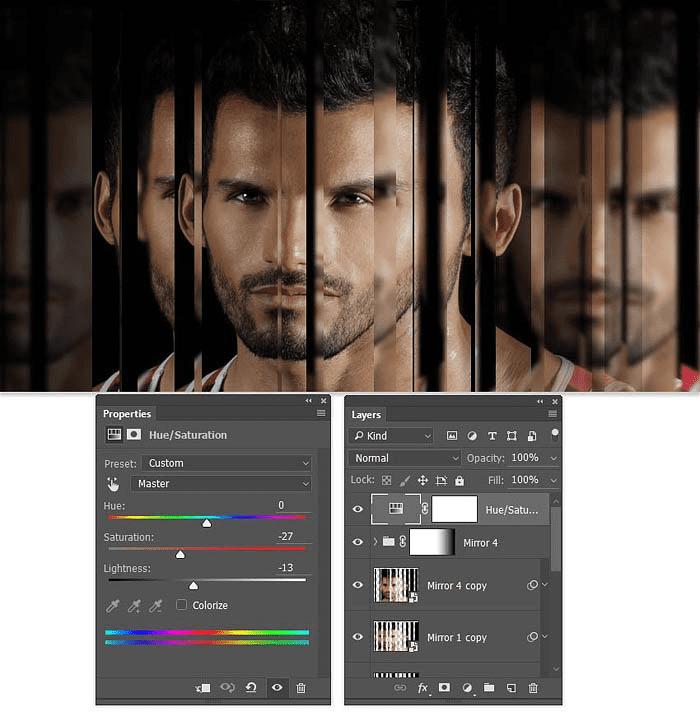
5、按照前面的步骤,将背景图层再复制,然后剪贴为不同大小的图层,合并到同一图层组中,命名为Mirror 4。需要注意这次的大小跟第一次要不一样。

6、将图层组Mirror 4复制,然后右击图层选择转换为智能对象。

7、选择“滤镜>模糊>高斯模糊”,设置模糊半径为3像素。然后将模糊后的剪贴图层移动到右侧,再放置在Mirror 4图层组下方。

8、选择Mirror 4图层组,主菜单选择“图层>图层蒙版>显示全部”。选择渐变工具,设置渐变模式为线性,设置渐变颜色为由白到黑,渐变方向为由左到右。这样可以减淡Mirror 4图层组的效果,并让下面图层的效果显示出来。

9、复制Mirror 4副本智能对象,将它移动到左侧,设置不透明度为30%,然后将它放到Mirror 1下面。

10、在图层面板顶端添加色相/饱和度调整图层,设置饱和度为-27、明度-13。
最终效果:

本文地址:http://www.45fan.com/dnjc/68761.html