5、把混合模式改为“颜色减淡”,如下图。

6、把不透明度改为20%,添加图层蒙版。用透明度为10%的柔边画笔把过亮的部分涂暗一点,如下图,现在折痕部分基本消除。把所有图层合并为一个图层。

7、新建一个图层,按Ctrl + Alt + Shift + E 盖印图层,如下图。

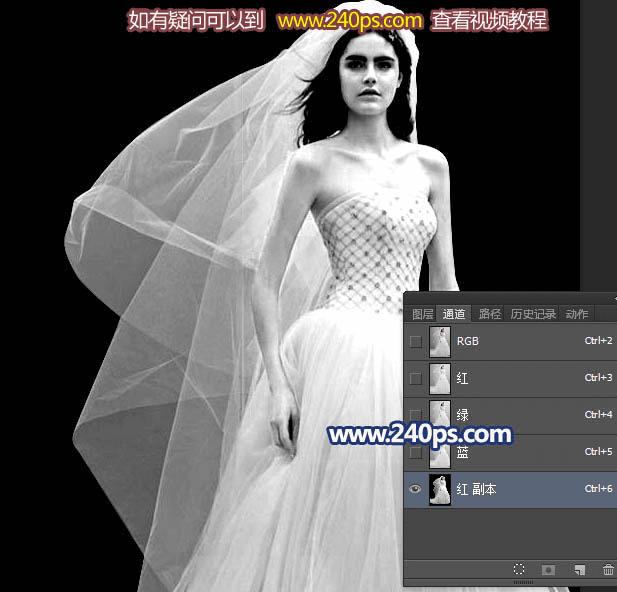
8、进入通道面板,把红色通道复制一份,得到红副本通道,如下图。 选择红副本通道,选择菜单:图像 > 应用图像,混合模式选择“正片叠底”,不透明100%,其它默认。

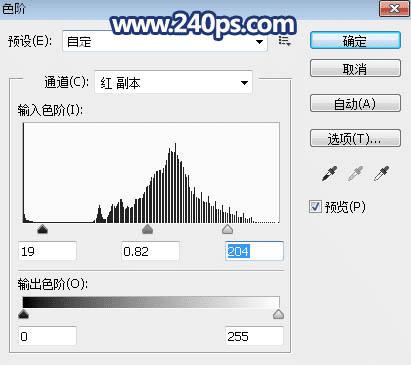
9、按Ctrl + L 对红副本通道调整色阶,参数设置如下图。
10、用柔边黑色画笔把婚纱以外的部分涂黑,如下图。
本文地址:http://www.45fan.com/dnjc/86743.html