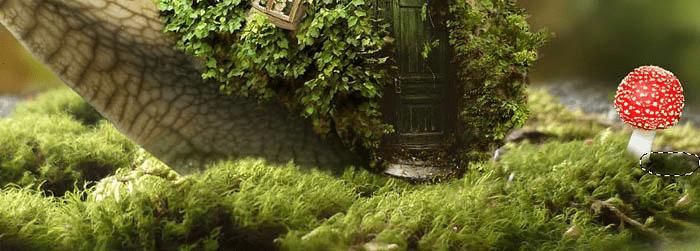
2、在蘑菇1图层下面创建新图层,选择黑色中硬度笔画在蘑菇的后面画上阴影,设置不透明大约为50%。这是考虑光的照射方向是从左往右。
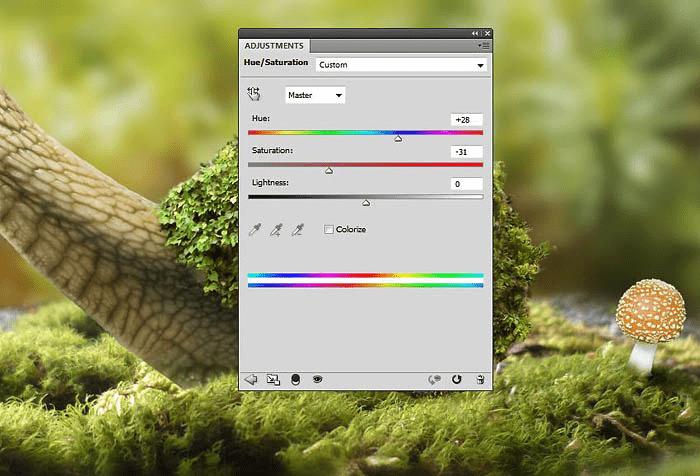
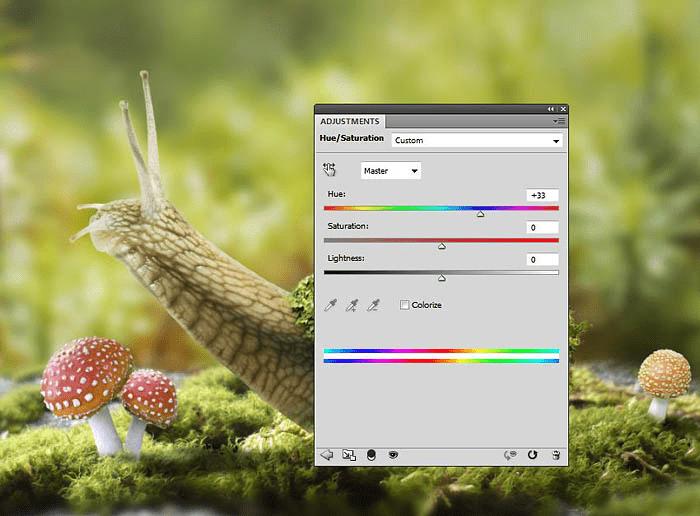
3、对蘑菇图层添加色相/饱和度调整图层,设置如下。
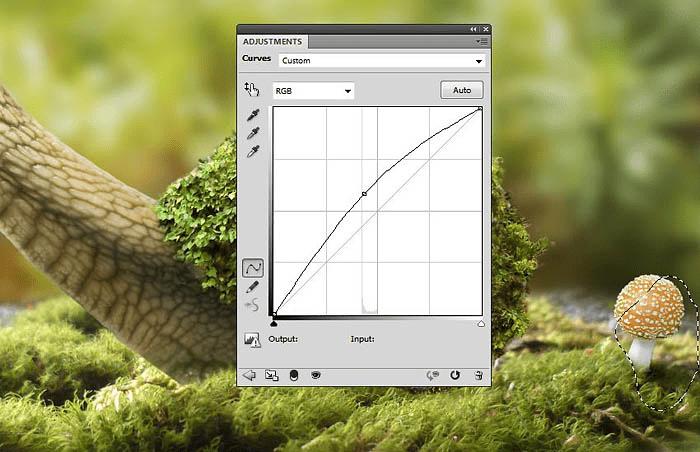
4、创建曲线调整图层,如下图设置曲线,让蘑菇右边变暗,符合光线规律。通过蒙版调整调整范围,让左边不受影响。

5、添加另外的曲线调整图层,这次增加蘑菇左边的亮度。然后用蒙版遮蔽右边,这样蘑菇左右就会有明显的明暗变化了。
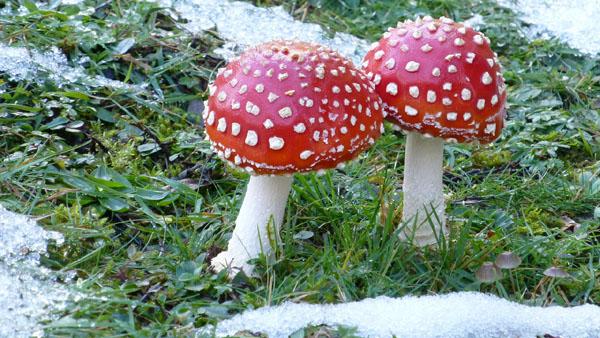
6、在画布的左边添加蘑菇2素材,用图层蒙版将底部遮蔽,与苔藓融为一体。
7、跟蘑菇1素材一样的操作,按光线方向调整蘑菇的光暗效果。
8、对蘑菇2添加色相/饱和度调整图层,设置如下。
9、添加色彩平衡调整图层,设置如下。

本文地址:http://www.45fan.com/dnjc/82676.html